7 Makeup Hacks That Will Change Your Life
With so many new makeup tools and trends all going on simultaneously its sometimes hard to keep up. From strobing, to sculpting and contouring, we sometimes feel like we need a handbook just to get it right. Thankfully there are plenty of tricks and tips available online to fill in the gaps and make even the most intimidating makeup looks not so scary. Below are seven of our favorites makeup hacks that every makeup lover should know and tuck away to use when needed. However, these aren’t your average makeup tips. These makeup hacks are sure to change your makeup game forever.
1. Fix broken eyeshadows
So, it happened. Your reflexes failed you and your brand new palette fell to the ground. The beautiful eyeshadow colors you so lovingly used daily are now shattered. Don’t start crying yet! Your shadows are not done for. Shattered eyeshadow can be easily fixed with some rubbing alcohol and a little TLC. First, break up your already shattered shadow into a fine, powdery consistency. Next, fill a spray bottle with rubbing alcohol and spray the shadow. Be sure to use rubbing alcohol that has a high concentration. Lower concentrations have the tendency to create a film over the shadow because of the content of water in them. If you are repairing a shadow that is in a palette, make sure you are covering the other shadow while spraying. Next, wrap a coin in tissue a press down on the shadow so that the powder becomes packed. Continue to press down on the shadow for about 30 seconds to ensure that the powder will remain impacted after drying. After you’ve done this, you’ll need to let the repaired shadow dry out, preferably overnight. This trick doesn’t just work for eyeshadow either. Try it out on shattered blushes, bronzers and powders, too.
2. Get more use out of your dried-up mascara
Want to get a few more uses out of your favorite mascara? We’ve got an awesome hack for you. Simply use a saline solution, like contact solution, to re-wet it. A few drops should be all you need to have voluptuous lashes again. However, it is important to keep in mind that you should not use your mascara longer than three months after you bought it. If you are still within that three months range, go for it!
Pro tip: To get the best effects from your mascara, don’t pump it. Instead, twist the wand back and forth using a circular motion. To avoid clumpy lashes, make sure you wipe excess mascara off of the wand before you apply it to your eyes.
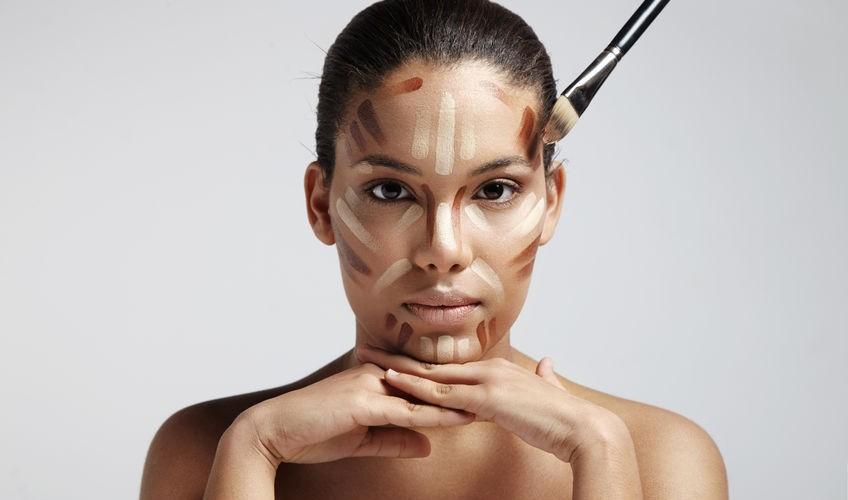
Contour map like a pro
If you’ve been struggling trying to figure out how all of those Instagram MUA’s contour so perfectly, we’ve got you covered. Map out the areas that you want to contour (your cheekbones, along your hairline, the sides of your nose, and anywhere else you think you need a little bronzing) with a pencil that is easily smudged, like a brow pencil. Brow pencils are easy to use for contouring because their pigments are usually heavily concentrated and can be blended in easily.
Once you’ve mapped out your contour areas with a pencil of your choosing, start to blend in those areas with a flat-topped brush. Once it’s blended in, you can begin to apply your highlighter. Use the same mapping technique with a highlighter pencil (you can also use a champagne colored shadow stick) along the bridge of your nose, the tops of your cheekbones and your cupid’s bow. Remember to blend your highlighter in after you’re done mapping! Finally, behold your perfectly contoured face. Selfie anyone?
4. Multi-task with one makeup product
You may be surprised to know that most makeup products can be used for more than just their packaged purpose. For example, if you forgot your blush on girls night out but remembered to pack your pretty pink lipstick, just dab the lipstick, using your fingers, into the apples of your cheeks to create a gorgeous glow. Also, bronzer can double as a fantastic eyeshadow shade that looks beautiful on all skin tones and gives the eyes the most gorgeous, sun-kissed glow. Finally, you can use clear mascara for more than just your lashes. Set your filled-in brows with the clear mascara by simply swiping the wand over the hairs. With this trick, your brows won’t move all day!
5. Warm up products to get a better outcome
Many makeup products can actually be warmed up before their application to get a deeper concentration, pigment, or just an overall better effect. For example, to get a deeper, more gel-like consistency for your eyeliner, simply warm it up with a lighter for a few seconds before applying. You can also do this same trick with any type of pencil product, like an eyeshadow stick, lip pencil or a brow pencil. You can also warm up your mascara by sticking it in a warm place (like your bra!) for a few seconds. Warming the mascara actually allows for a better application and curl. Similarly, you can use your blow dryer to warm up the pads of your lash curler to amp up your curls.
6. Create custom lip gloss shades with pigments
As if you needed another reason to use those pretty pigments in your collection, but here’s another. Find a shade that you think would look awesome on your lips, like a pretty pink, sexy bronze, or even a gorgeous nude shade. Mix some of the pigment with some petroleum jelly using a small brush. Swipe the mixture onto your lips and prepare to be amazed at the fabulousness. Super easy, and you may even become slightly addicted.
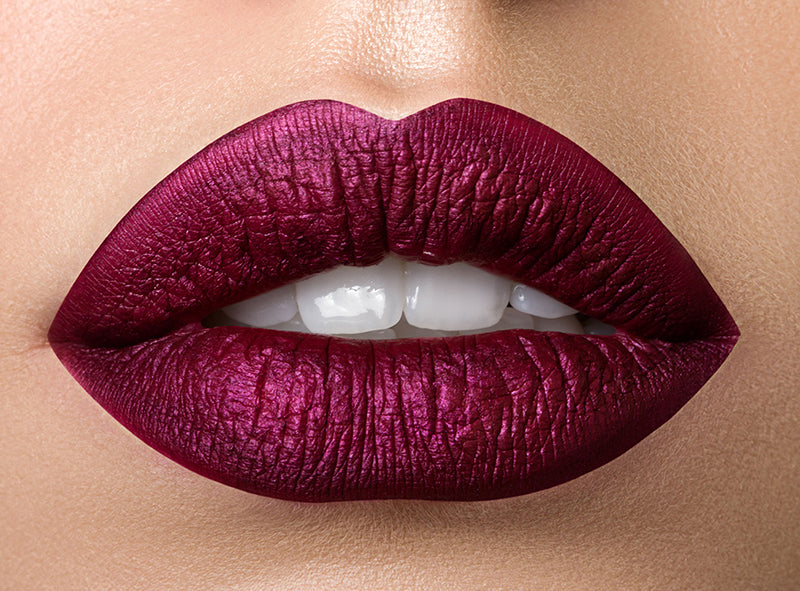
7. Create long-lasting lipstick with a piece of tissue paper
If you are an avid lipstick wearer, you know that it’s imperative to keep your lipstick in your purse throughout the day for touch-ups. However, this trick may save you from having to re-apply! First, apply your lipstick as you normally would. Next, take a piece of tissue paper and place it loosely over your lips. Next, apply some loose powder to a stippling brush. Dab the powder onto the tissue that is covering your lips. The powder actually sets the lipstick and provides you with an extremely long-lasting shade!