Top 10 Makeup Tips from the Pros
Want to know how to re-create Beyonce’s gorgeous glow? Or how about Megan Fox’s perfect skin and sultry smokey eyes? We’ve put together a list from some of our favorite professional makeup artists with their best tips and tricks for creating a flawless face for anytime. Simple adjustments that by implementing into your daily makeup routine can instantly revamp your entire look.
1. As many of us know, taking care of your skin is an important step in the makeup process. To help with any imperfections you may have Makeup Artist James Kaliardos recommends using an exfoliating toner to even out your skin tone and to remove any dryness.
2. Something you probably never thought to do and we didn’t either, James suggests using a foundation brush for applying moisturizer. He says by doing this it allows for a level of consistency of application that fingers cannot give. Bonus: It leaves your foundation feeling creamy and dewy. Well, we definitely like that! For warmer weather you don’t have to omit the foundation, instead why not try mixing your foundation and moisturizer together to create your own custom blended tinted moisturizer. If you do, mix them first using the outside of your hand as a palette and your foundation brush before apply to the face.

3. Applying bronzer can sometimes be a little tricky. You can easily over do it and end up looking too bronzed or worse, too orange. For a more natural glow, Makeup Artist Bobbi Brown recommends choosing a bronzer that is close to your arm and chest color, which is usually a few shades darker than your face. This way the bronzer is not too dark or too light but instead will blend seamlessly so the color is even from your face down to your chest. The best way says Bobbi to apply the bronzer is to sweep your color wherever the sun naturally hits your face. The most obvious are your forehead, cheeks, bridge of nose, and chin. From there you can also dust it on the center of your neck and ears (lobes) to create an even more natural effect. Remember to make sure there are no harsh lines and that everything is well blended to finish up your sun-kissed look.
Pro Tip: When applying your color to the forehead make sure to sweep your brush horizontally, the more fuller and fluffier the brush, the more natural the application.
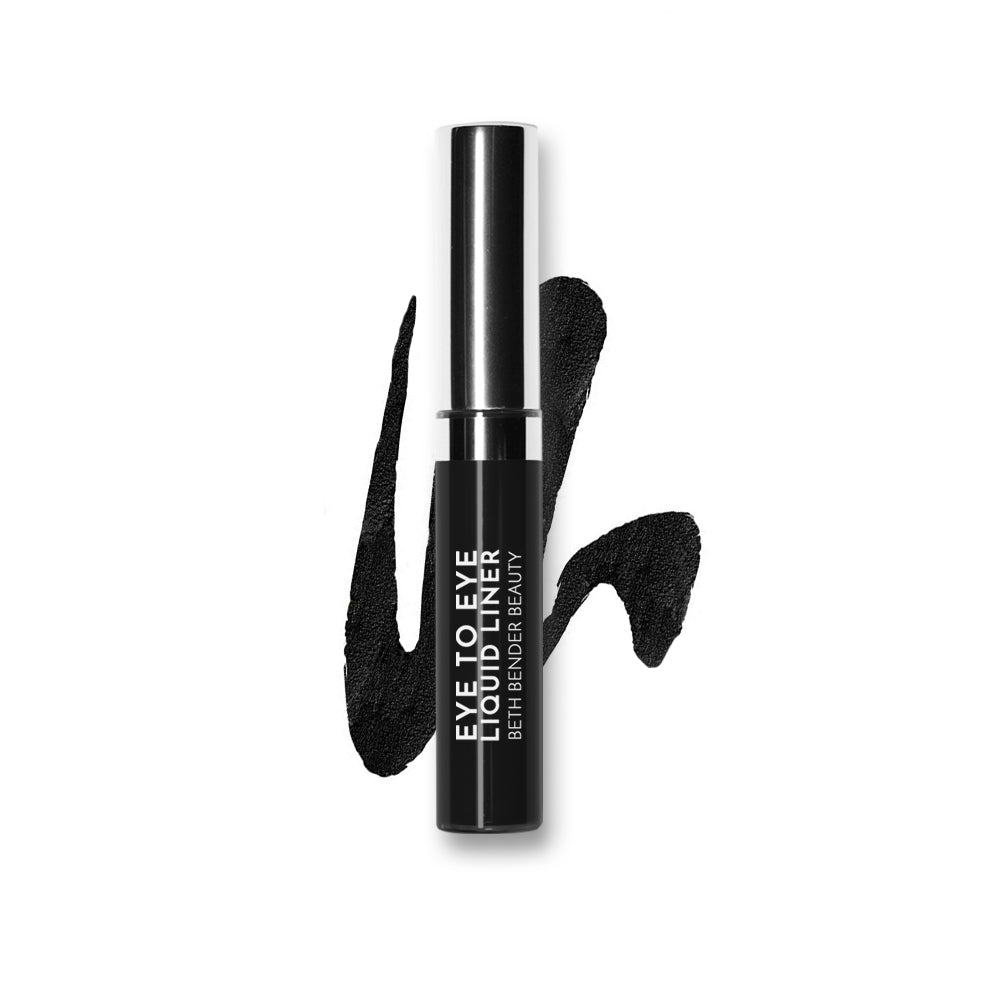
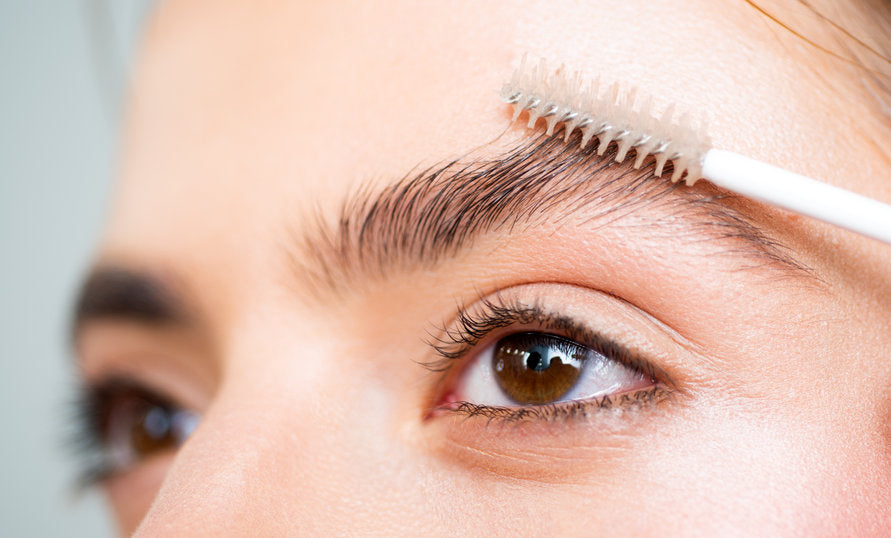
4. One of the most important tips for framing your face is for grooming and defining your brows. Makeup Artist, Beth Bender says, “A well-defined brow can make all the difference on a face.” She recommends choosing a shadow that is slightly lighter than the color of your brow hair. If your hair color is black, choose a dark brown shadow instead to fill in hairs. Begin by tweezing any hairs that are outside of your natural brow shape. Use a mascara wand or spoolie brush and brush hairs up. Fill in any areas that are sparse with a brow pencil first using short feathery strokes. Make sure to deposit the most color at the arch and soften color in either direction. Next using your brow powder and angled eyebrow brush fill in with color using short strokes and following your natural brow line as closely as possible. To finish, set your newly-defined brows using either a clear brow gel or mascara, either will do. (Try Bold and Beautiful Brown Defining Set; $24.99, bethbenderbeauty.com)
5. Another tip from Beth Bender is for highlighting your nose. She recommends using a concealer or a highlighter to make your nose appear slimmer. Make sure the concealer is a few shades lighter than your foundation color and if using a highlighter, try to avoid one with shimmer as this can make your nose appear shiny and create the opposite effect of what you intended. To create the illusion, using a concealer brush, carefully swipe your product along the bridge of your nose, starting at the top and ending at the tip of nose. Finish by extending your highlighter up beyond the center of brows creating a small upside down triangle and blending outwards to the right and left to remove any hard lines.
Pro Tip: Blending is key to creating this look so make sure you can’t see the color once you’ve applied it, especially to the bridge of your nose. You can set your foundation/highlighter with a translucent powder to prevent any smudging. (Check out this video on Youtube from The Makeup Chair)
6. Want to make your lips appear fuller? Try wearing a clear shimmery lip balm and apply it directly above your cupid’s bow to create the illusion. Next, add a shimmer lipstick, and finish it off with a dab of a clear lip gloss applied right in the center of your bottom lip. A celebrity favorite on the red carpet.

7. One secret weapon that many makeup artists swear by is the Beauty Blender, a pink, dome-shaped sponge that is used for applying foundation, concealer, and even moisturizer. You can buy the more expensive original one at $19.99 but there are a few that are less expensive and just as good. To use, wet the sponge slightly to allow it to expand in size, then dip into your foundation and start blending. Work your way from the inside (by the nose) to the outside (jawline) to get the most natural coverage. Many makeup artists recommend using the Beauty Blender in place of foundation brushes and fingers because they feel it prevents you from having uneven coverage but again this is totally a preference. (Beauty Blender Sponge; $19.95 Sephora.com)
8. A great tip for every girl who can’t part with her favorite mascara (although after a few months girls you know what happens, bacteria sets in) even though it’s dried-out mascara, is to add a few drops of Visine into the tube and pump the wand slightly until the mascara that’s left is moist again, you can shake the tube as well. Doing this little trick will give you a few more uses with your mascara, but a new and fresh one will be safer on the eyes and look better too.
9. By far one of the most important eye makeup tips a girl should take advantage of is from Beth Bender who says to curl your lashes ladies! Many don’t realize how much of a difference this step makes when it comes to your eyes standing out. Choosing an eyelash curler is a personal preference, not everyone likes the sidebars and some can’t do without. *Tweezerman has a lash curler without the sidebars that allows you to heat the pads before curling and we’ve seen the lashes, need we say anymore. It only takes a few seconds to do and can take your lashes from zero to 10+. To achieve the perfect curl, Beth says to get as close as you can to the root of your lash for the full curled effect.Pro Tip: To heat the pads before curling, set your blow dry on high heat for just a few seconds. Recommended for curlers without the *side bars. (Try Tweezerman Supercurl Eyelash Curler; $9.00)
10. Our final pro tip is for dry lips and how to keep them looking supple and smooth. One of the ways to do this is to use a toothbrush with a little Aquaphor or Vaseline and brush your lips making small circles as you move from left to right and back. Do this a few times a week to get them to a good place and then once a week for maintenance. By brushing the lips, the dead skin cells will flake away, leaving you with chap free, fresh lips all year round.
Pro Tip: For lips that are super chapped and dry, try using a lip scrub first to remove any dead skin and then apply a thick layer of Aquaphor. Do this nightly for at least one week and you’ll see a big improvement.