Get These Top 5 Eye Makeup Looks Using Eyeliner Stencils
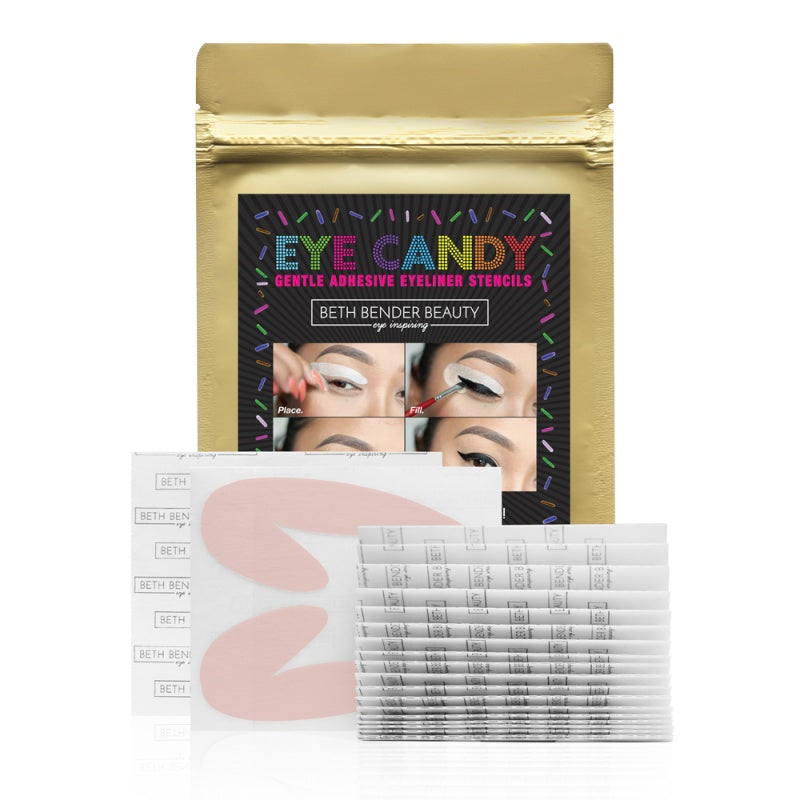
Any makeup tool that you have can be used in a variety of ways and eyeliner stencils and eye makeup stencils are no different. There are so many different looks that you can create or replicate using eyeliner stencils but we’re talking about our favorites eyeliner looks here! The key is to not be afraid to experiment and try something new as this can result in a style that you may even end up loving like some of the eye makeup looks seen here below. We hope you like them as much as we do and as always we welcome your comments, tips, and idea's for beauty and makeup articles you would like to see featured on our site.
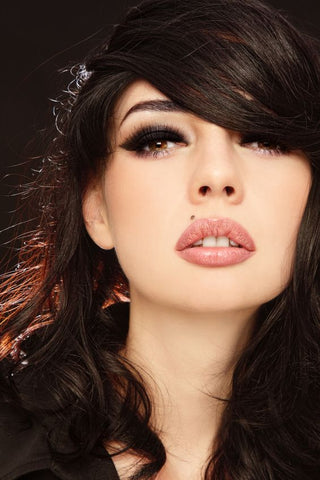
1. Smokey cut crease
There’s something about a cut crease that is just so satisfying, don’t you think? You can create an amazing cut crease with eyeliner stencils including a smokey eye stencil. First, apply a color of your choice to the lid using the eyeliner stencil to create a defined space. Next, using a small brush, apply a darker shade (like a chocolate brown) into the crease using the same eyeliner stencil. Turn the stencil over and use the bottom liner marked in black on your smokey eyeliner stencil to blend the shadow outwards while still maintaining a defined edge. Finish by applying bottom liner with a shadow or liner of your choice.
2. Graphic cat eyeliner
Using your cat eyeliner stencil, you can create a perfect cat eye look and enhance it a bit more by creating graphic liner look instead. To do, start by placing your eyeliner stencil over the eyelid so that the black guideline along the cat eye is about 1/4 of an inch away from your lashline and 1/4 of an inch out from the end of your eye. Next, with your black shadow and medium size eyeshadow brush fill in the open space with your color. Make sure to apply your shadow all the way up into the point of your cat eyeliner stencil. Pressing your brush into the point will ensure the perfect winged tip. Go over the cat eye with liquid or gel liner to intensify the look. Next, starting at the tip of the cat eye, draw a line from the tip to the crease and trace your crease line, extending to the outer half of your eyelid.
3. Double liner
We love double liner because of how eye-catching it is! You can create an awesome double eyeliner look simply by using your cat eyeliner stencils. Fill in your cat eyeliner stencils with either a cream shadow or gel liner using a flat rubber brush. Next, position the stencil a bit further up on the eye so that half of the line you created is still visible in the stencil. Pick a striking color (like silver or neon blue) and fill in the open space that is not black liner in the stencil. Double liner can also be done by applying one strip of liner on the top lash line and one on the bottom. When applying the bottom liner, use the bottom liner marked in black on the smokey eye stencil, moving the stencil 1/4 of an inch away from where your bottom lash line ends and applying your color. This will give you that fabulous double cat eyeliner look seen above using your eyeliner stencils.
Check out Makeup Artist Nikki French create double winged liner using Beth Bender Beauty Eyeliner Stencils.

4. Glitter
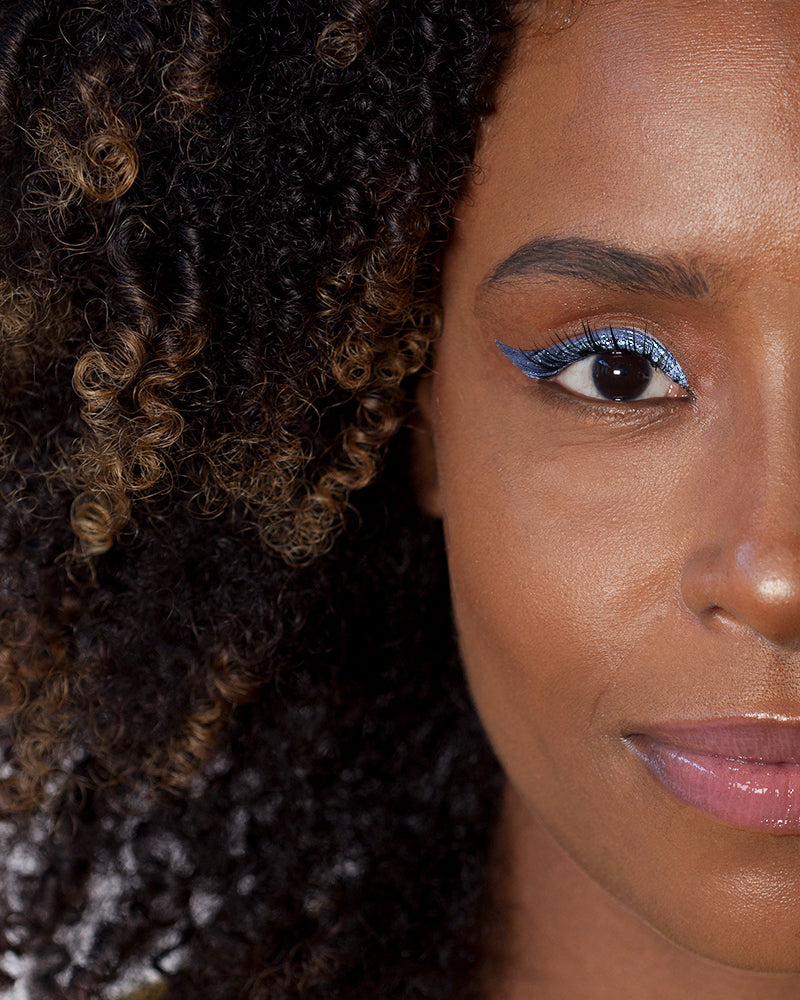
Glitter is a major beauty trend for 2016 and you can really step up your creativity depending on how you include it to your eye makeup and eyeliner looks. You can add glitter to your eye makeup looks by using either your eyeliner stencils or your smokey eye makeup stencils. The great thing about applying glitter using eyeliner stencils is that it helps prevent any fallout that you may have from the glitter. When doing a glitter cat eye or straight up eyeliner look, you’ll want to first use your eyeliner stencils to apply a shadow outline of the cat eye first. For a super intense effect, use an eyeshadow similar to the glitter color that you will be using. Next, holding the stencil over the cat eye shape just created, apply your glitter glue wherever you will be applying the glitter. Apply the glitter with a small liner brush that is slightly dampened either with an eyeliner sealant or eye drops. You can also make an incredible smokey eye effect with your stencil and glitter too. Complete your smokey eye as you normally would with your smokey eyeliner stencils using whatever color you desire (like a black, brown, purple or even blue). Then, using your smokey eyeliner stencils, place them so that they outline your crease, not letting them extend above it. Apply your glitter glue to the exposed area within the smokey eye shape and then add your glitter. This look will definitely make your eyes pop so get ready!
Pro-tip: When doing a black smokey eye, try using some silver glitter. It looks fantastic and is perfect for a sultry night time eye makeup look.
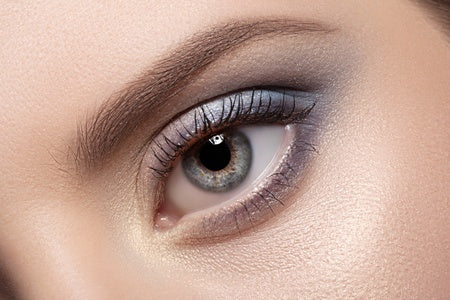
5. Outer half smokiness
If you’re looking to wear something that is a bit more toned down rather than your average smokey eye makeup effect, this look will be perfect for you. For this style, you will be using the smokey eye stencil bottom liner as an edging tool. Position your bottom eyeliner stencil underneath your bottom lashline and extend the black guideline out to where you want your eyeshadow to end. In this case the color stops directly under the end or tip of brows. Starting with the darkest color, apply it to the outer half of your lid and blend up towards the crease. Remove the eyeliner stencil and check out the brilliant start to a smokey eye effect you just created. Blend a lighter shade starting where the darkest shade ends, making sure to keep the look muted and light, so there’s no need to apply extra color to your crease line. Apply a coat of mascara and bottom liner, smudging with a Q-tip to soften the liner if necessary. To add a touch more depth to the look you can tightline the top and bottom lash line with white or beige liner to open the eyes up and reduce the impact of the smokiness just a bit.

