


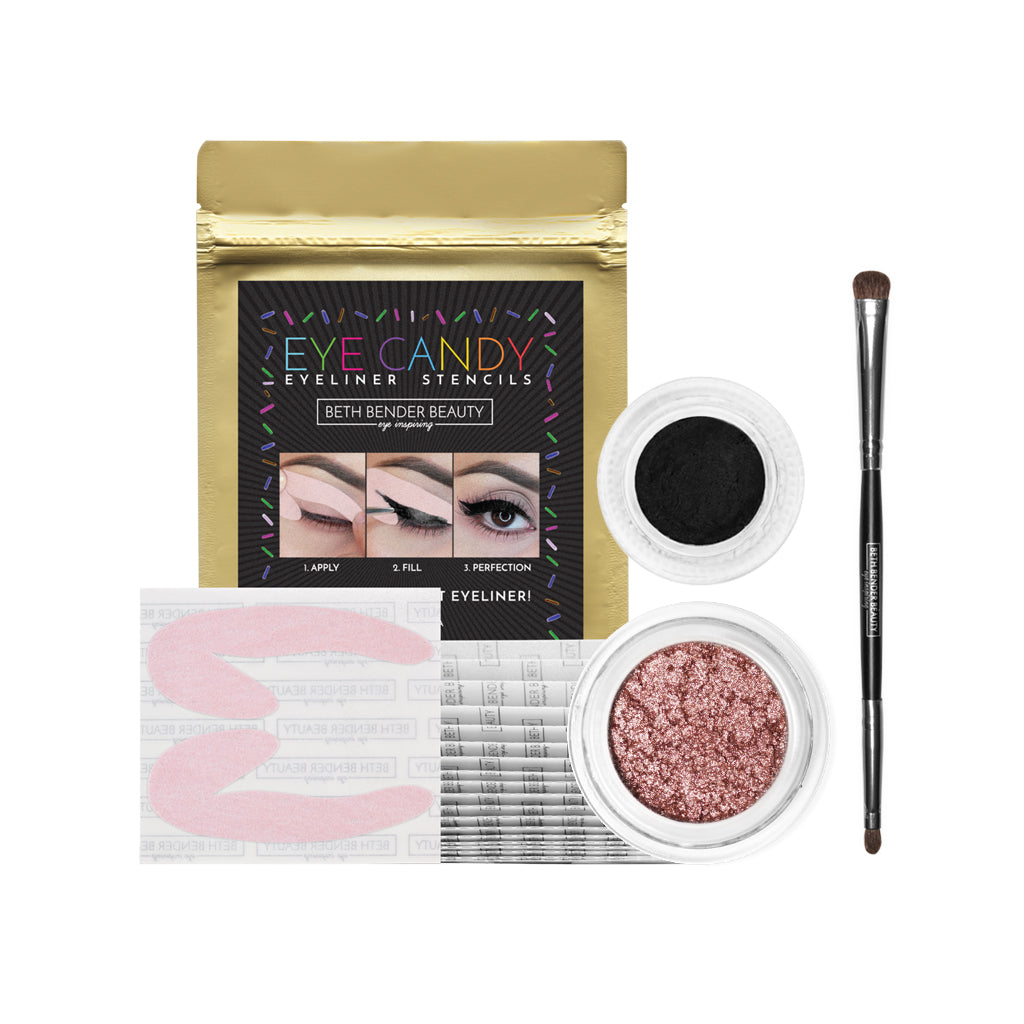
Eye Got You! Pro Pack Stencil Set
- The Scoop
- More Details
- Beth's Pro Tips
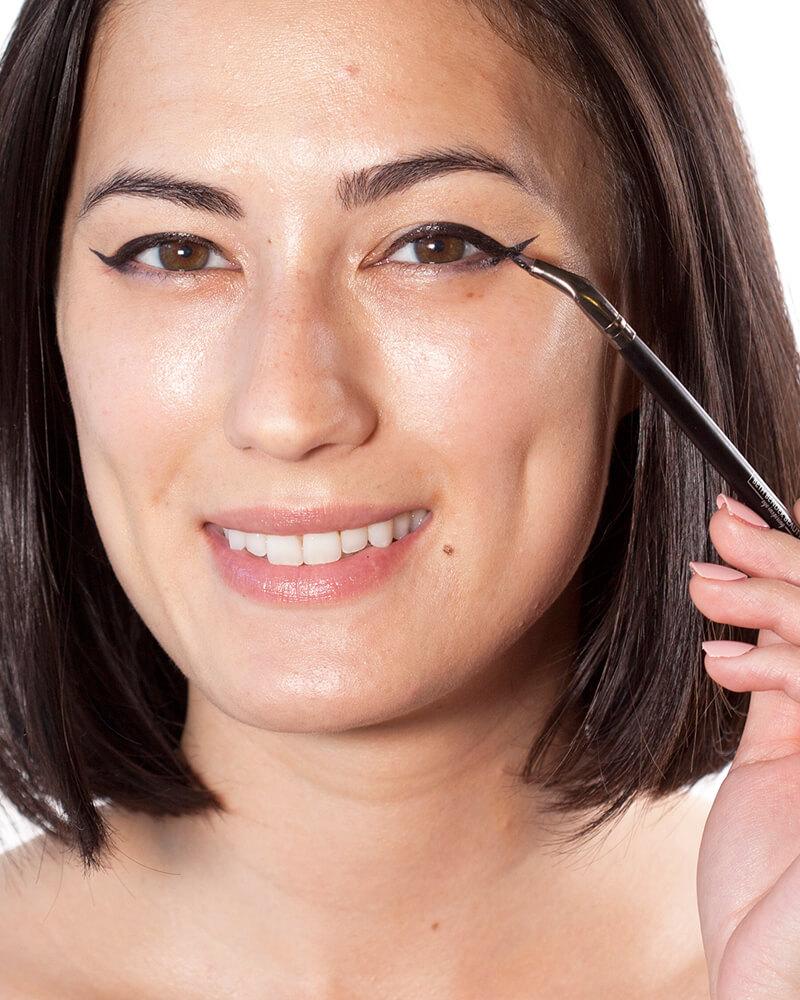
• Achieve precise eyeliner and eye makeup styles in minutes
• Multi-use - create perfect bottom liner, and cut crease
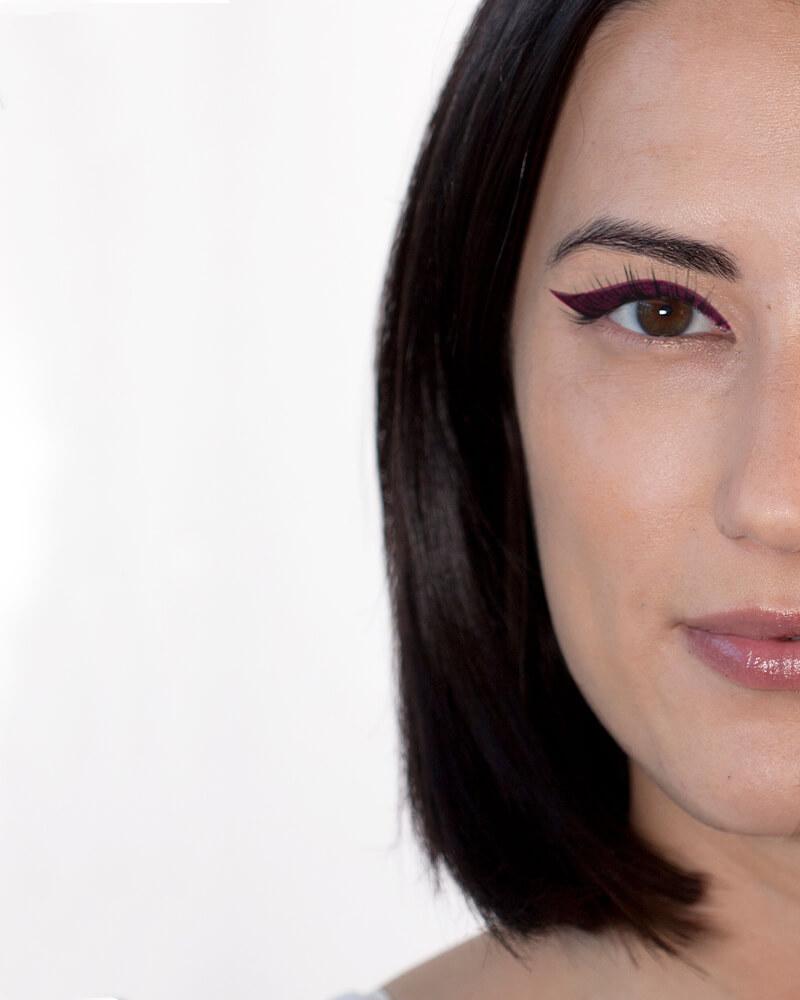
• Create seamless gradient, rainbow, and unique eyeliner looks with ease
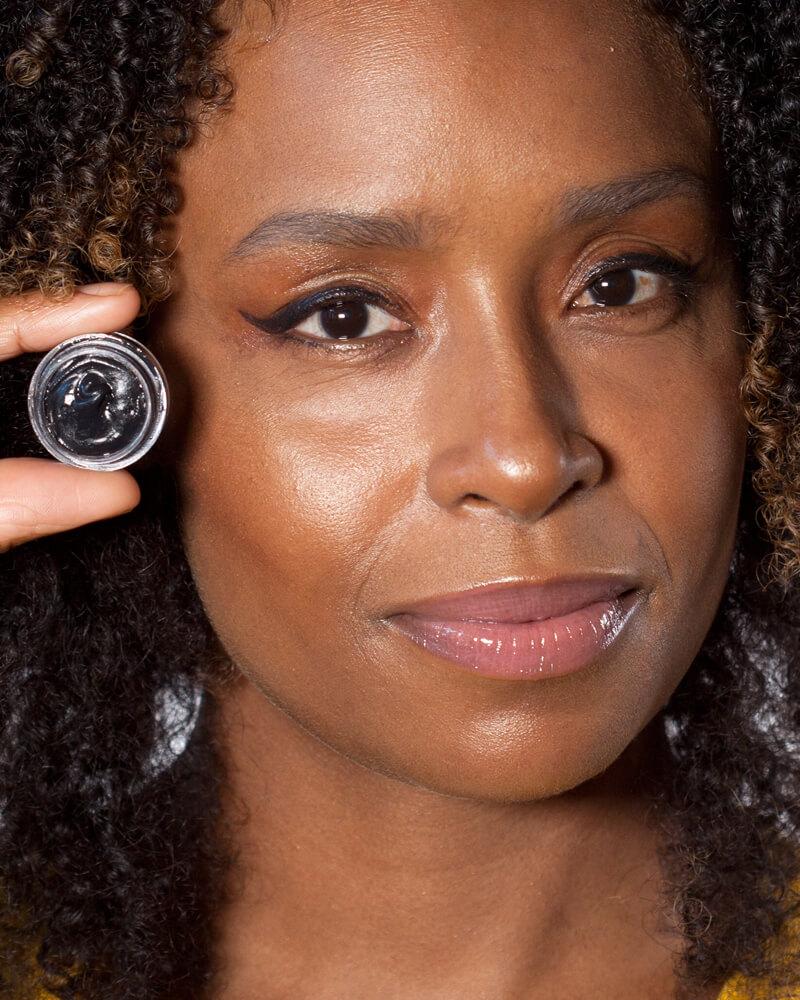
• Create classic cat eyeliner and winged liner looks with professional results
• Allows you to create popular eye makeup looks anywhere, anytime.
More Benefits:
• Hypoallergenic
• Eye Candy Eyeliner Stencils can be used up to three times
• Adjustable for multiple thicknesses
• Work with hooded lids
• Remove little to no shadow
• All Beth Bender Beauty Eyeliner and Eye Makeup Stencils are made in the U.S.A
What our Eye Candy Eyeliner Stencils do:
• Create precise eyeliner and eye makeup styles in minutes.
• Create seamless gradient, rainbow, and unique eye makeup looks with ease.
• Create classic cat eyeliner and winged eyeliner looks with professional results
• Allows you to create popular eye makeup looks anywhere, anytime.
Each Eye Candy Gentle Adhesive Eyeliner Stencil Sheet comes with a left and right eyeliner stencil. Your Eye Candy Gentle Adhesive Eyeliner Stencils should only be applied to dry eyelids and skin to avoid any irritation when placing and removing your stencils.
Beth's Pro Tip: If it's your first time using our Eye Candy Adhesive Eyeliner Stencils you can reduce the adhesiveness of your stencils by peeling off stencil from your sheet and placing it on your forearm. Peel off your stencil from forearm and then place over your eyelid.
Peel off one eyeliner stencil at the outer rounded edge. Once your stencil is removed from the sheet, carefully place the eyeliner stencil over your eyelid. Your can place your Eye Candy eyeliner stencil over your eyelid with your eye open or closed depending on your personal preference.
Place the top arm of your eyeliner stencil along the top of your eyelid and the bottom arm of your eyeliner stencil along your bottom lash line. Both arms should lay flat against your eyelids, top and bottom.
Once you have one eyeliner stencil placed along your eyelid you can repeat the same steps above for the other eye. For a perfect application make sure there are no gaps or air bubbles before applying your color. For the best results both eyeliner stencils should be applied to both eyes first before adding any color.
Begin applying your eye color. If you are using a powder eyeshadow to create your eyeliner look make sure to tap off any excess color from your brush to prevent fall out. Start at the tip of your winged point as seen in image 4 and work your way down towards the inner corner of eye. Fill in the entire area of your eyeliner stencil, especially when using a gel, pencil or a liquid liner. Once both Eye Candy eyeliner stencils have been filled in, you are ready to peel away your eyeliner stencils and show off your perfect eyeliner!
Beginning at the outer round corner of your eyeliner stencil, carefully begin peeling away your stencil towards the inner part of your eye until it is completely removed from your eyelid. Enjoy your perfect Eye Candy eyeliner!
All Beth Bender Beauty Eyeliner Stencils are made in the U.S.A.
Have a question you need answered? Beth Bender Beauty Experts are here to help. Email an artist at info@bethbenderbeauty.com anytime!
• For maximum coverage I actually love using my index finger to pat the color directly onto the eyelids. You can build your color by repeating this step until you've achieved your desired intensity and then finish by blending out the edges using a fluff brush.
• If you prefer using a brush, I recommend a flat synthetic eyeliner or concealer brush to apply your color, as the creaminess of the formula will adhere better to the brush for a seamless and detailed application.
To Blend Your Eye Color:
• Use a fluffy Blender Brush or an All Over Eye Shader brush.
• Dip the tip of your brush into your eyeshadow and create a "windshield wiper” effect directly in the crease of eye for a soft and diffused look.
• Hand Crafted and Manufactured in Los Angeles with Much Love •