10 Tips You Show Know for Grooming Brows

Over the years eyebrows have gone through many different phases, not all of them so good. The one thing to keep in mind when grooming is to remember that depending on how you shape and fill them in can have a big impact on your entire look. Thankfully with all of the products, techniques and tutorials available you don’t have to be born with gorgeous thick brows to get them. Applying makeup can enhance different areas of the face including eyebrows and sometimes just a subtle change like a lighter brow color can be huge. But, with that said there is a little more than just filling them in with a brow pencil. Below are 10 tips you may or may not know to keep in mind the next time you reach for your tweezer or brow products.
1. Having the right tools is a must
This is key to getting the results you desire. Invest in a good pair of tweezers. Tweezerman is one of the best for a reason…they last, remove hairs easily, and offer a variety of different points depending on your needs. An angled eyebrow or eyeliner brush and a spoolie/disposable mascara wand should all be on hand. If you’re a newbie use an eyebrow stencil to help with removing stray hairs. Place the stencil that is closest to your natural brow shape over the brow, hold in place and fill in with your brow color or shadow using a small shadow brush. Remove stencil and tweeze any hairs that are outside of your natural brow shape including above and below your brows. Without a stencil, once you’ve finished cleaning up around the brows, fill in any sparse areas with your brow powder and angled brush. Finish by combing through with your spoolie brush/disposable mascara wand to soften color.
2. You have choices
What you use to fill in your eyebrows is up to you. Some like pomades, others powders and pencils, and some even use all three, or do the pencil/powder combo. Using an eyeshadow in a matte finish will give you the most natural look next to using a clear brow gel. Using a brow pencil or colored pomade will be a bit more dramatic. If you’re eyebrows are already naturally thick on their own you may want to consider a clear or colored brow gel instead.
3. Where to begin
For the best results keep in mind the three areas on your brows when shaping and applying color. The first is where the thickest part of your brow hairs start. Using either a pencil or brush, line up the start of your brow hairs with the side of your nose. If there are any hairs outside the line that are closer to your nose, remove them. Next, move your pencil/brush diagonally so it lines up with the bottom of your nostril, and extends to the brow. The point at which the pencil/brush lands is where your natural arch is and important when filling in with color. The last step is to line up your pencil/brush diagonally along the outer corner of your eye and extend towards the brow again. This is the point where the tail end of your brow should be. You can add color to create length if it falls short and the stronger the point, the better. If it’s too long, pluck away the extra hairs.
4. Shaping your brows to suit your face
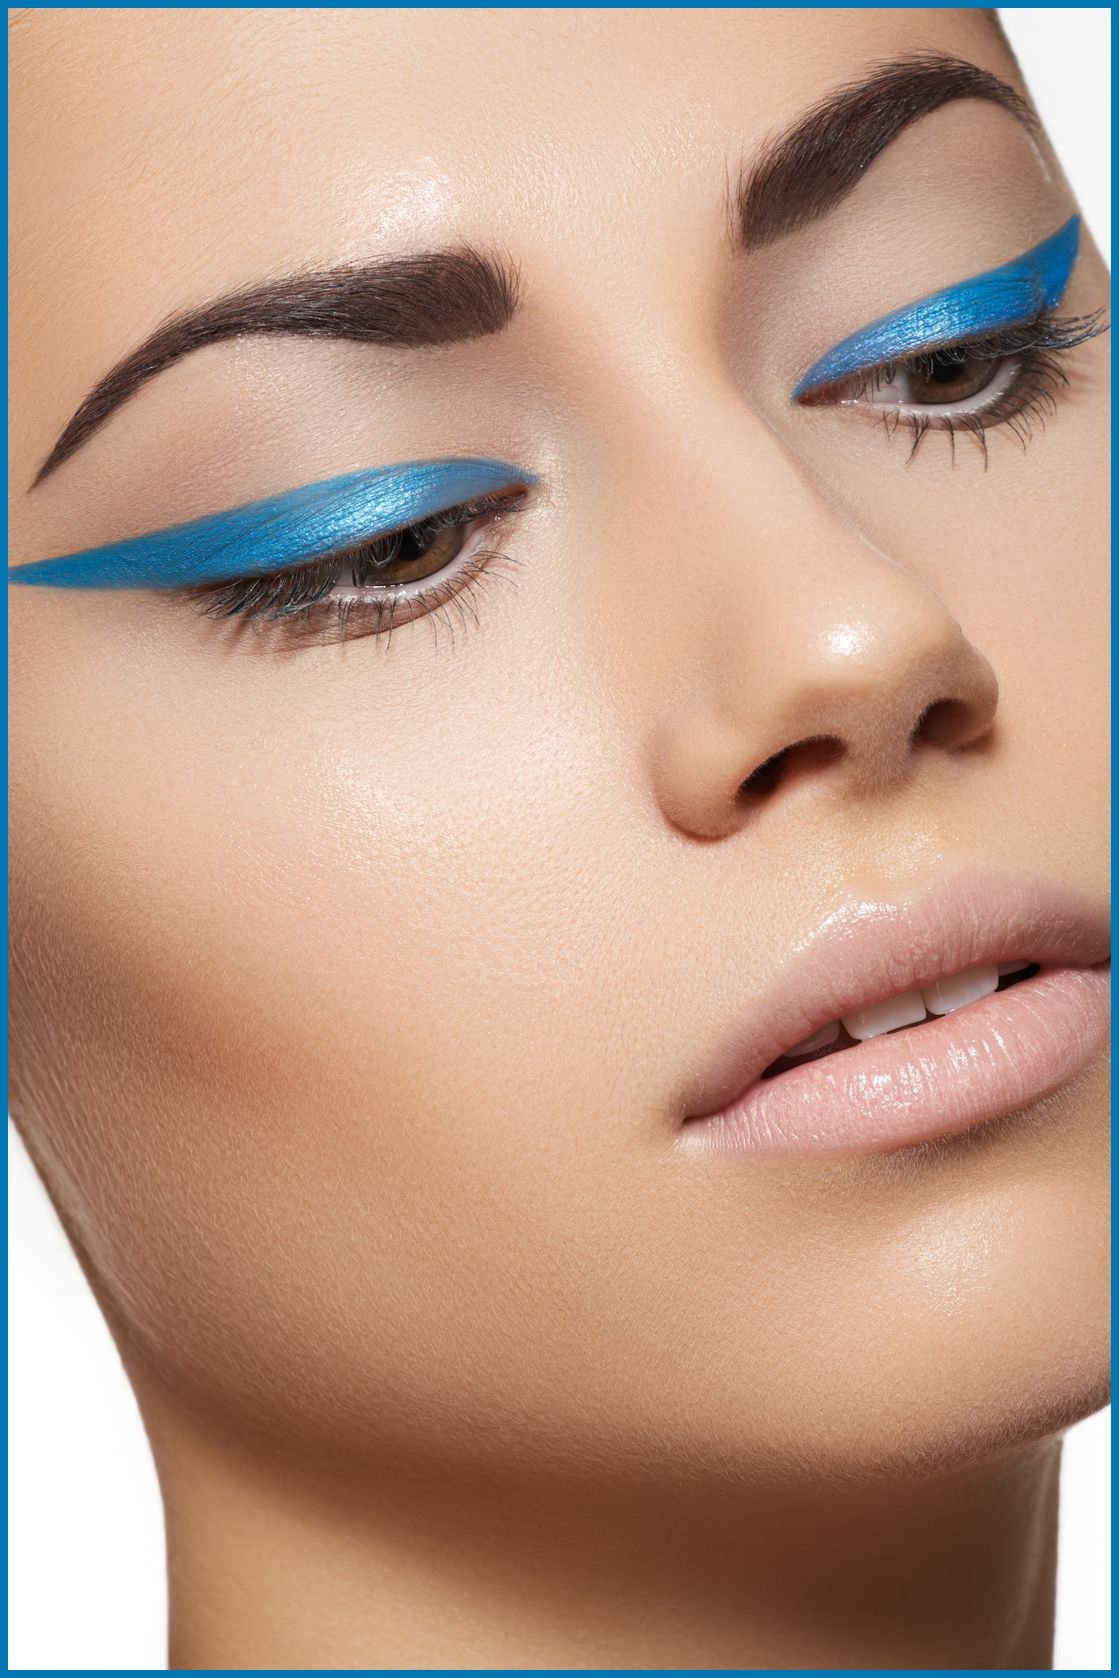
Although the shape of our brows are unique to our own faces it is just as easy to change the shape to about any style you want. Makeup artists do it often especially when capturing a specific makeup look. One thing to keep in mind is if your face has more angular features opt for a softer, more rounded brow to balance things out. The opposite would go for those with a rounder face. For this you would want to emphasize your brows with an arch that is more defined and adds intensity to your face.
5. Try to avoid an overly done brow
Even if you’ve plucked your brows to the point of barely there when you fill them in start at the middle and then work your way out from either side. You want to avoid adding too much color to the beginning of brows as this will give you a less natural and more Groucho Marx type look.
Tip: Where ever you place your color with your brush first will deposit the most pigment.
6. Add small brush strokes similar to your actual brow hairs
An eyeshadow or pomade are both popular since you can use an angled brow brush to apply the color. This technique also allows for more control with color when filling in any gaps. The result is a much more natural look. Work your brush upward and sideways to create a naturally fuller effect and avoid drawing in bluntly straight lines that will look too obvious.
7. Apply a light concealer
Applying a cream concealer is a great way highlight your brows while enhancing their shape. To do, apply your concealer by outlining your brows above and below first. Next, using a flat or dome shaped concealer brush, blend color for a crisp, clean line. Works like a charm!
8. For professional results don’t forget to blend
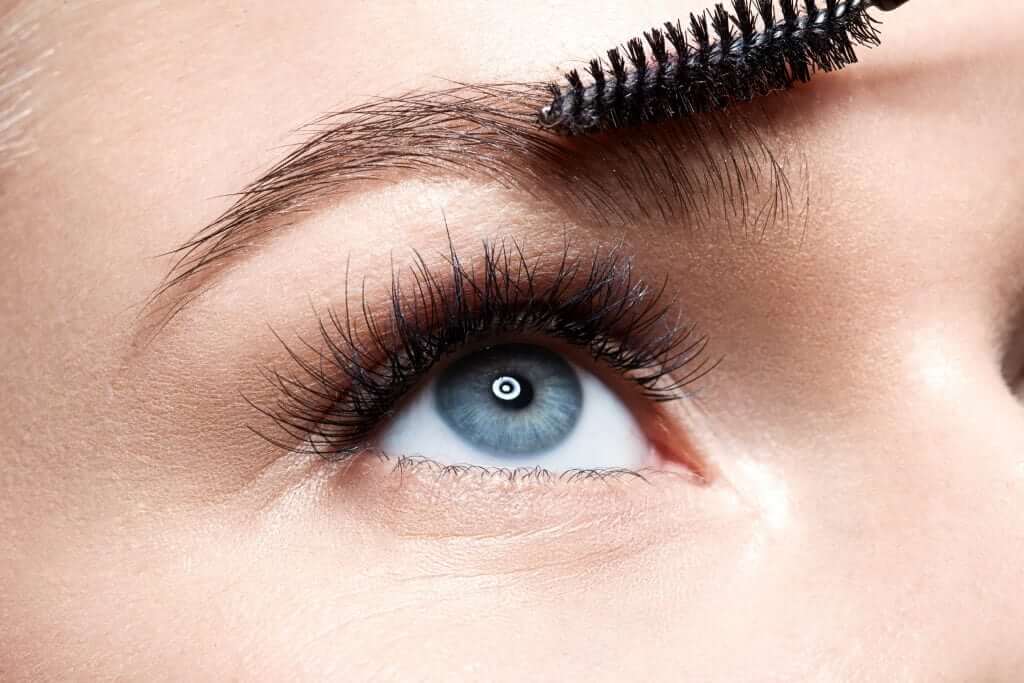
Once you’ve added your brow color, the next step is to blend. Using your spoolie/disposable mascara wand or lash brush, begin by blending the pigment together with your brow hairs by brushing them up, to the side and down to get every hair.
9. Accentuate underneath your brow bone
Adding just a touch of shimmer underneath the brows can create an illuminating effect. To do, go for an eyeshadow (cream or powder) that is easy on the shimmer or finely milled. Using a small brush add a tiny amount just underneath where the arch begins and down to the tip of the brow. When it catches the light is when you’ll really be in awe of your brows.
10. Setting with a brow gel
Not everyone follows through with this last step but for some it’s a must. What it will do is keep your brows in place and that means the color too. Another option is to use hairspray to set them by spraying a bit onto your spoolie/disposable mascara wand and combing through them. Again this is entirely up to you.
Products to Check out: The Bold and The Beautiful Brow Defining Set; $37.99


