How to do Rachel Bilson's Winged Eyeliner Look
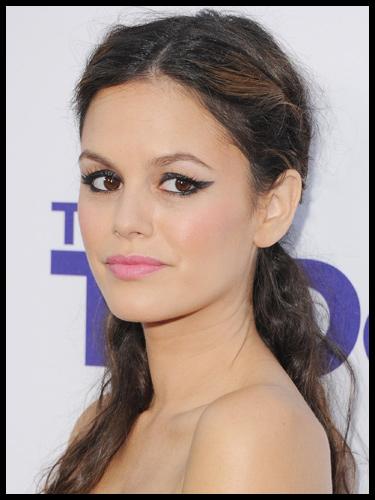
Living in Los Angeles tends to make for some of the best celebrity run ins. From cafe's to pumping gas, and of course our favorite the grocery store. You'd be surprised who you can run into there. Lately we've been seeing a lot of Rachel Bilson and her perfect winged eyeliner, so we thought what better time then to re-visit her fabulous eye makeup look and share our tips on how to do winged eyeliner like hers.
Over the years her eyeliner has become kind of her signature eye makeup look and it's perfect for her. She doesn't usually stick to one style as far as thickness and length go but she can usually be spotted with her famous flick. Exaggerating them like this can be done easily with an eye shadow, felt tip liner, gel liner or pencil. Color is always an option too. Another great thing about this look is that the rest of your makeup can be minimal since the eyes are the main focus.
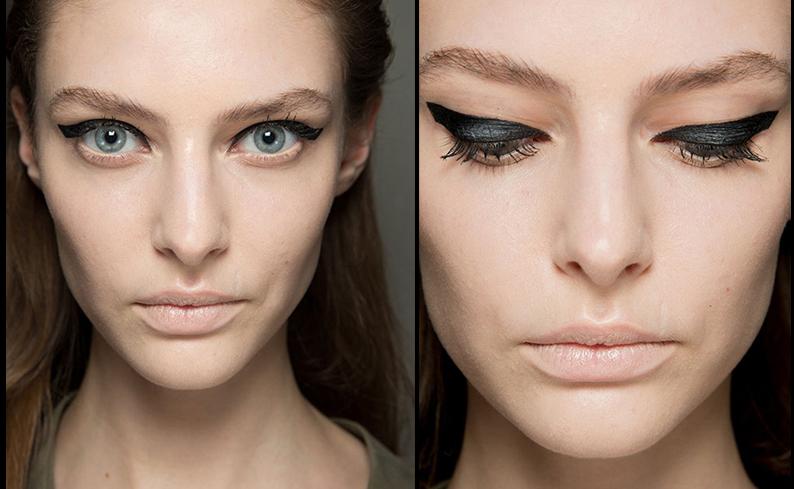
For this look we're going to use an eyeshadow. We’ve all got a black or dark brown eye shadow in an eye shadow palette somewhere, so pull that out and using either an angled eyeliner brush or a a tapered eyeliner brush, (totally up to you) that is slightly dampened, dip into your eye color, tap the brush and begin by lining along the upper eyelid and as closely as you can to the lash line. For more control over your liner, you should start at the inner corner and work your way out.
When you get to about 3/4 of the way across your lid this is where you'll want to start turning your brush up to create the winged out effect. When your eyeliner meets the end of your brow as seen here on Rachel that is where the point should end. You can repeat these steps for a thicker line depending on how dramatic you want your eye makeup look to be. Using the same brush and eye color line underneath along lash line making sure that both points meet to form your winged eye effect.
Once you've finished your eyeliner underneath and are happy with how it looks you can set your liner with an eyeliner sealant to lock the color in or leave as is for a softer finish. If you don't have an eyeliner sealant handy you can substitute it for a little Visine. The best way to use the sealant is to put a drop in the palm of your hand, dip your brush in sealant, then in your eye color, and over the liner.
Beauty Secret: Celebrities who love this look have also been known to use our cat eyeliner stencil to create their eyeliner and eye makeup when they do their own and aren't in need of a makeup artist.
Pro Tip: For a more dramatic winged eyeliner look you can omit the sealant and fill in the shadow with a gel eyeliner, liquid liner, or felt tip liner afterwards. Love this look? Check out some more great looks and tips below.